
Projects. We all love them. Especially the ones that really help us to nail down the fundamentals and learn something new. Dogecoin has been trending since the past week so why don't we build something related to it.
In this project, we will be building a simple Dogecoin price ticker, a web app which will fetch the lowest price of the day, the highest price of the day and the last traded price via an API and will be updated every 10 seconds. Throughout the project, you will learn about setting up a React project, building components, props, state and the most used React hooks such as useState and useEffect.
I've broken down the project into small sections and if you face any issues in following along, you can check the GitHub repo commits to look at the changes I've made.
Live Demo: https://dogecoin-ticker.netlify.app/
Source Code:
 itsnitinr
/
dogecoin-ticker
itsnitinr
/
dogecoin-ticker
A live Dogecoin price ticker built using React
Creating a React Project
The first step is to create ourselves a React project. For this purpose, we'll be using Create React App which will help us to focus on our code and not worry about setting up the build tools. The prerequisites are that you'll need NodeJS v8.10 or above and NPM version v5.6 or above.
Open up your terminal and run the following command in your preferred directory:
npx create-react-app dogecoin-ticker
npx is a package runner tool that comes with npm. The above command might take 5-10 minutes to complete so grab a cup of coffee and relax!
Once done, let's hop on to the project directory. For that, you could either use the file explorer or use the following terminal command: cd dogecoin-ticker. Now, open up the project folder using your favourite text editor and we'll get started with the initial setup in the next section. To start the development server, run npm start on your terminal in the project folder.
If you got stuck in any of the steps, check this commit.
Initial Setup
Once we start our development server using npm start, go to localhost:3000 on your browser and you'll be greeted with a screen like this.

This is the default homepage that Create React App has generated for us. Since we don't need anything similar to this, let's start by deleting unwanted files and setting up the project as per our requirements.
The folder structure at this moment looks something like this:
dogecoin-ticker
- public
    - index.html
    - favicon.ico
    - logo192.png
    - logo512.png
    - manifest.json
    - robots.txt
- src
    - App.css
    - App.js
    - App.test.js
    - index.css
    - index.js
    - logo.svg
    - reportWebVitals.js
    - setupTests.js
- node_modules
- .gitignore
- package.json
- package-lock.json (or yarn.lock if using yarn)
The public folder consists consists of our index.html file which will be rendered by our browser. Open it up and start by removing the unwanted comments and modifying the title of the webpage. You can also additionally edit the meta tag for description and add your own. Here's how your index.html should look like once you're done:
<!DOCTYPE html>
<html lang="en">
  <head>
    <meta charset="utf-8" />
    <link rel="icon" href="%PUBLIC_URL%/favicon.ico" />
    <meta name="viewport" content="width=device-width, initial-scale=1" />
    <meta name="theme-color" content="#000000" />
    <meta
      name="description"
      content="Live dogecoin price ticker built using React"
    />
    <link rel="apple-touch-icon" href="%PUBLIC_URL%/logo192.png" />
    <link rel="manifest" href="%PUBLIC_URL%/manifest.json" />
    <title>Dogecoin Ticker</title>
  </head>
  <body>
    <noscript>You need to enable JavaScript to run this app.</noscript>
    <div id="root"></div>
  </body>
</html>
To give a more personal touch to our website, I have also changed the favicon and logo images which you can download from here
Let's move on to the src folder. We can get rid of most of the files here such as App.test.js, logo.svg, reportWebVitals.js and setupTests.js. On saving, you might have noticed that our development server throws an error that it failed to compile. Since we deleted the above files, we need to fix the imports as well. Checkout this commit to see the additions and deletions in detail. Our final result will look like this:
App.js
import './App.css';

const App = () => {
  return (
    <div>
      <h1>Dogecoin Ticker</h1>
    </div>
  );
};

export default App;
We removed all the existing content generated by Create React App and replaced it with a div containing an h1 with the text 'Dogecoin Ticker'. I've also changed the function to an arrow function but that's not mandatory. This function returns some JSX which is rendered by React. It can be used in multiple places in our project and is known as a component.
index.js
import React from 'react';
import ReactDOM from 'react-dom';
import './index.css';
import App from './App';

ReactDOM.render(
  <React.StrictMode>
    <App />
  </React.StrictMode>,
  document.getElementById('root')
);
Here, we've removed the import for reportWebVitals since we deleted it as it was not necessary. We import the React and ReactDOM libraries which allow us to render a React component onto the DOM. The React component that we're rendering here is the App component from App.js.
App.css & index.css
In these files, we just remove all the preexisting styles that were generated. Essentially, these are just empty CSS files for now but we'll add some custom styles soon.
At the end of this section, our website looks something like this:
Making It Look Pretty
Since we're just rendering a div and an h1 currently through the App component currently, our design looks plain. To spice it up, let's add a logo (which you can download from here) and some styles. Move the logo.png to the src folder once downloaded.
Begin with importing our logo into our App.js file like this:
import logo from './logo.png'
Now, let's add more content to our App component such as a title and a subtitle. You can use HTML elements like h1 and h5 for this purpose. To use our imported logo as the source for the img tag, we use {logo}. We can use simple JavaScript expressions and variables inside the {} to render dynamic content.
For the purpose of styling, we can add classNames to the HTML entity. We do not use class since it can be misinterpreted as a JavaScript class (OOP concept). We can target these classes in our App.css file to style them. Here's how my App.js and App.css files look like:
App.js
import logo from './logo.png';
import './App.css';

const App = () => {
  return (
    <div className="App">
      <img src={logo} width={150} height={150} alt="Dogecoin Logo" />
      <h1 className="title">Live Dogecoin Price</h1>
      <h5 className="subtitle">Dogecoin To The Moon 🚀🌕</h5>
    </div>
  );
};

export default App;
App.css
.App {
  background-color: #fff3b2;
  background-image: url("data:image/svg+xml,%3Csvg width='180' height='180' viewBox='0 0 180 180' xmlns='http://www.w3.org/2000/svg'%3E%3Cpath d='M81.28 88H68.413l19.298 19.298L81.28 88zm2.107 0h13.226L90 107.838 83.387 88zm15.334 0h12.866l-19.298 19.298L98.72 88zm-32.927-2.207L73.586 78h32.827l.5.5 7.294 7.293L115.414 87l-24.707 24.707-.707.707L64.586 87l1.207-1.207zm2.62.207L74 80.414 79.586 86H68.414zm16 0L90 80.414 95.586 86H84.414zm16 0L106 80.414 111.586 86h-11.172zm-8-6h11.173L98 85.586 92.414 80zM82 85.586L87.586 80H76.414L82 85.586zM17.414 0L.707 16.707 0 17.414V0h17.414zM4.28 0L0 12.838V0h4.28zm10.306 0L2.288 12.298 6.388 0h8.198zM180 17.414L162.586 0H180v17.414zM165.414 0l12.298 12.298L173.612 0h-8.198zM180 12.838L175.72 0H180v12.838zM0 163h16.413l.5.5 7.294 7.293L25.414 172l-8 8H0v-17zm0 10h6.613l-2.334 7H0v-7zm14.586 7l7-7H8.72l-2.333 7h8.2zM0 165.414L5.586 171H0v-5.586zM10.414 171L16 165.414 21.586 171H10.414zm-8-6h11.172L8 170.586 2.414 165zM180 163h-16.413l-7.794 7.793-1.207 1.207 8 8H180v-17zm-14.586 17l-7-7h12.865l2.333 7h-8.2zM180 173h-6.613l2.334 7H180v-7zm-21.586-2l5.586-5.586 5.586 5.586h-11.172zM180 165.414L174.414 171H180v-5.586zm-8 5.172l5.586-5.586h-11.172l5.586 5.586zM152.933 25.653l1.414 1.414-33.94 33.942-1.416-1.416 33.943-33.94zm1.414 127.28l-1.414 1.414-33.942-33.94 1.416-1.416 33.94 33.943zm-127.28 1.414l-1.414-1.414 33.94-33.942 1.416 1.416-33.943 33.94zm-1.414-127.28l1.414-1.414 33.942 33.94-1.416 1.416-33.94-33.943zM0 85c2.21 0 4 1.79 4 4s-1.79 4-4 4v-8zm180 0c-2.21 0-4 1.79-4 4s1.79 4 4 4v-8zM94 0c0 2.21-1.79 4-4 4s-4-1.79-4-4h8zm0 180c0-2.21-1.79-4-4-4s-4 1.79-4 4h8z' fill='%23676659' fill-opacity='0.13' fill-rule='evenodd'/%3E%3C/svg%3E");
  min-height: 100vh;
  display: flex;
  flex-direction: column;
  justify-content: center;
  align-items: center;
}

.title {
  margin-top: 1.5rem;
  font-size: 3.5rem;
  color: #222831;
}

.subtitle {
  margin-top: 0.5rem;
  font-size: 1.5rem;
  color: #393e46;
}
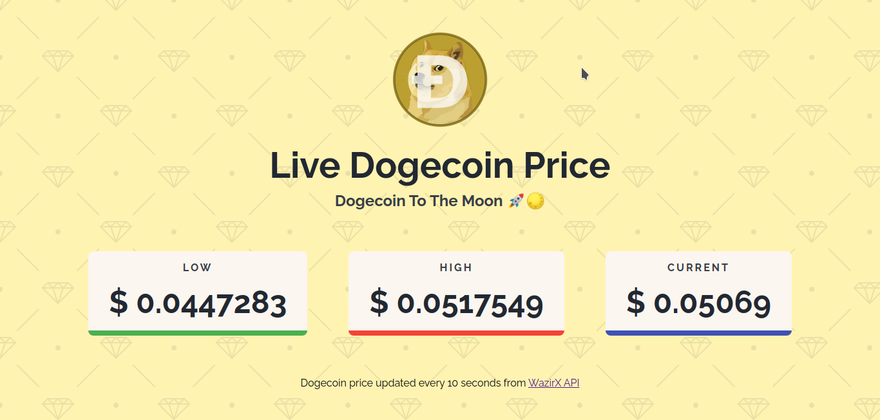
For styling, I kept the minimum height as 100vh so that the whole screen is utilised. On top of that, I've added a pale yellow color as background. The background-image property generates a diamond shaped pattern whose code I got from https://www.heropatterns.com/. Lastly, I've gave the div the display property of flex and aligned the content to be horizontally and vertically centered. Feel free to copy paste the CSS code.
I also imported the Raleway font from Google Fonts and applied some basic style reset to the index.css file.
index.css
@import url('https://fonts.googleapis.com/css2?family=Raleway:wght@400;700&display=swap');

*,
*::before,
*::after {
  margin: 0;
  padding: 0;
  box-sizing: border-box;
  font-family: Raleway, sans-serif;
}
Here's how our website looks like now:

We're getting there! If you found any difficulty, refer this commit.
Building Price Card Component
To display the prices of Dogecoin, you might have noticed that I've used a card-like component. This is a custom React component and in this section, we'll be building just that. Components are highly useful when we want the same layout but with with different content. Instead of writing the HTML code for each card, I can build a component which can take the price as a prop and render the content dynamically. Time to show it in action.
While component file can be created in the src folder itself, it is common practice to create a new folder inside src called components so that all our React components are at the same place and our src folder doesn't become too crowded. So, create a components folder inside the src folder. Inside the newly created components folder, let's create a new file called PriceCard.jsx for our custom component.
We can use either js or jsx extension for components. Both would work perfectly fine and hence, I'm going to use the .jsx extension this time. The price card component is just a styled div which takes consists of the type of price (highest of the day, lowest of the day or last traded price) and the price itself as props. Since the price and price type will be different for each card, we can leverage props to make our price card dynamic.
Here's how I did it:
PriceCard.jsx
const PriceCard = ({ type, price }) => {
  const border = {
    high: '8px solid #f44336',
    low: '8px solid #4caf50',
    current: '8px solid #3f51b5',
  };

  return (
    <div className="price-card" style={{ borderBottom: border[type] }}>
      <h4 className="price-type">{type}</h4>
      <h1 className="price">$ {price}</h1>
    </div>
  );
};

export default PriceCard;
Firstly, we destructure the type and price props which will be used to make the content of price card dynamic. For styling the bottom border dynamically (red border for highest of the day, green border for the lowest of the day and blue border for last traded price), I have a created an object with 3 keys: high, low and current. The type prop will also be one of these values. By adding the style attribute to the div, the bottom border style has been made dynamic.
{{borderBottom: border[type]}} will evaluate to either borderBottom: 8px solid #f44336 , borderBottom: 8px solid #4caf50 or borderBottom: 8px solid #3f51b5. Notice that we camel case instead of the usual kebab case. For outputting dynamic content in our JSX, we wrap it with {} such as {price}.
Now that we have built and exported our custom PriceCard component, let's import it into our App component and use it.
App.js
import PriceCard from './components/PriceCard';
import logo from './logo.png';
import './App.css';

const App = () => {
      <img src={logo} width={150} height={150} alt="Dogecoin Logo" />
      <h1 className="title">Live Dogecoin Price</h1>
      <h5 className="subtitle">Dogecoin To The Moon 🚀🌕</h5>
      <div className="prices-container">
        <PriceCard type="low" price={100} />
        <PriceCard type="high" price={200} />
        <PriceCard type="current" price={150} />
      </div>
    </div>
  );
};
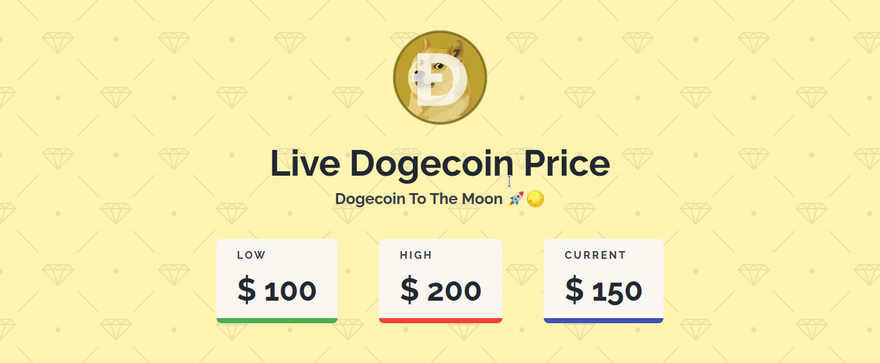
Since we don't have the prices retrieved from the API yet, I have set some random price to the price attribute. I've also wrapped all the PriceCard components in a div which we'll be using for styling.
Append the following styles to App.css:
.prices-container {
  max-width: 1200px;
  padding: 3rem 0;
  display: flex;
  justify-content: space-evenly;
  align-items: center;
}

.price-card {
  background: #fbf6f0;
  margin: 0 2rem;
  padding: 1rem 2rem;
  border-radius: 8px;
}

.price-type {
  text-transform: uppercase;
  letter-spacing: 3px;
  color: #393e46;
  margin-bottom: 1rem;
}

.price {
  color: #222831;
  font-size: 3rem;
}
Once you have completed the above steps, you will be able to see something like:
Here's the commit for above changes in case you faced any issues.
Getting Dogecoin Price From API
Onto the final part of this project, which is to fetch the highest price of the day, lowest price of the day and last traded price from an API. This is also a great time to introduce you to React Hooks. We'll be using the useState and useEffect hook in this section.
The API that we'll be using is the WazirX API, which is a free API that allows us to get the price of lots of cryptocurrencies. The endpoint for fetching the price of Dogecoin compared to US Dollar is https://api.wazirx.com/api/v2/tickers/dogeusdt. This returns a JSON with all the data we need. However, to avoid issues due to CORS, use this endpoint: https://nitinr-cors.herokuapp.com/https://api.wazirx.com/api/v2/tickers/dogeusdt
The response from looks like this:
{
  "at": 1612629617,
  "ticker": {
    "buy": "0.05",
    "sell": "0.05001",
    "low": "0.0447283",
    "high": "0.0517549",
    "last": "0.05",
    "vol": "19364432.0"
  }
}
Also, we will be using axios to make a GET request to the above endpoint. We need to install axios before we can begin to use it. So, stop the React development server by pressing Ctrl + C. Now type npm install axios and run the command. Once done, start the server back using npm start.
Since the price of Dogecoin is subject to change every time we make an API call, we can keep it in the state using the useState hook. Whenever the API is called, we can set the state to the newly fetched data so that our application can re-render accordingly.
Using the useEffect hook, we can make a call to our API as soon as our component is mounted. With the help of setInterval function, we can call a function, which in turn calls our API every 10 seconds. Here's the complete App.js component followed by the explanation:
App.js:
import axios from 'axios';
import { useState, useEffect } from 'react';
import PriceCard from './components/PriceCard';
import logo from './logo.png';
import './App.css';

const App = () => {
  const [ticker, setTicker] = useState({
    low: 0,
    high: 0,
    last: 0,
  });

  useEffect(() => {
    async function getDogecoinPrice() {
      const { data } = await axios.get(
        'https://nitinr-cors.herokuapp.com/https://api.wazirx.com/api/v2/tickers/dogeusdt'
      );
      setTicker(data.ticker);
    }
    getDogecoinPrice();
    const interval = setInterval(() => getDogecoinPrice(), 10000);
    return () => {
      clearInterval(interval);
    };
  }, []);

  return (
    <div className="App">
      <img src={logo} width={150} height={150} alt="Dogecoin Logo" />
      <h1 className="title">Live Dogecoin Price</h1>
      <h5 className="subtitle">Dogecoin To The Moon 🚀🌕</h5>
      <div className="prices-container">
        <PriceCard type="low" price={ticker.low} />
        <PriceCard type="high" price={ticker.high} />
        <PriceCard type="current" price={ticker.last} />
      </div>
      <p>
        Dogecoin price updated every 10 seconds seconds from{' '}
        <a href="https://wazirx.com/">WazirX API</a>
      </p>
    </div>
  );
};
We import the useState and useEffect hooks from react library as named exports and axios from the axios package as a default export. The useState hooks takes in the initial value which we have set to an object having values of 0 for high, low and last. It returns us a variable which holds the current state and a function to set the new state. In our case, these are the ticker and setTicker respectively.
Inside the useEffect hook, we define an asynchronous function (since API calls are asynchronous in nature) named as getDogecoinPrice in which we make a request to our API endpoint using axios. We destructure the data from the response and set the state of ticker to data.ticker since we need only the ticker data from response. After the function definition, we call this function once followed by a setInterval with a delay of 10000ms (10 seconds) which will run our function and call our API every 10 seconds to get the updated price.
The useEffect hooks also take an array of dependencies as a second argument but since we need to run the setInterval only once, when the component is mounted, we can keep it as an empty array.
The price attribute of PriceCard component can be set to ticker.low, ticker.high and ticker.last respectively to get the lowest, highest and last traded value. Since ticker is a state variable, React will automatically re-render the UI every time its value changes.
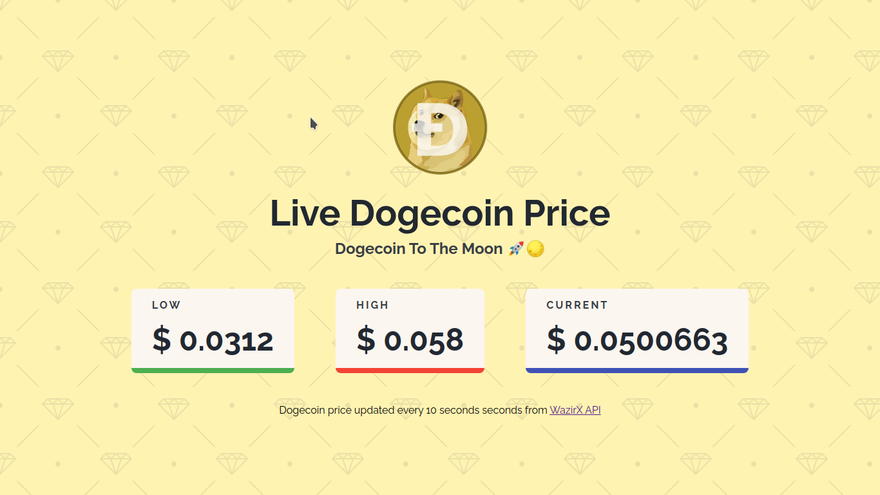
Finally, here's what we have built:
Congratulations! You have built yourself a nice and simple web application using React to stay updated with Dogecoin. If you faced any difficulties during building it, please have a look at the GitHub repo or post a comment down below and I'll be more than happy to help you out. That's all, folks!


Top comments (3)
Ethereum is really great. But some time ago I wanted to expand my crypto portfolio and realized that I lacked knowledge about the value of various cryptocurrencies. But my boss was great, just as always. He found here a really great post about which currencies to invest in. So I even discovered BNB for myself that I have never taken into account before!
I like DOGE. But at this point in time I have enough of it. So I would rather trade Ethereum. So let's talk about it and what you think.
Awesome work thanks for sharing this Most Appropriate price ticker with us.