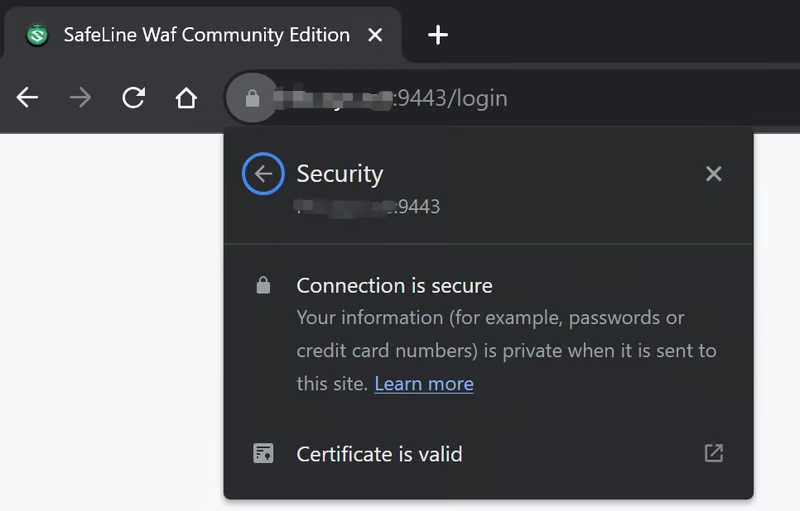
By default, SafeLine WAF comes with a self-signed certificate for its management dashboard. While functional, it triggers browser warnings that require manual bypassing every time you log in. If you'd prefer a smoother experience using a trusted certificate, here's how to switch it out in a few simple steps.
Prerequisites
Make sure you have:
- A valid SSL certificate file (
.crt) - The corresponding private key (
.key)
How to Replace the Certificate
1. Connect to Your SafeLine Server
cd /data/safeline/resources/management/certs
`
This is the directory where the current certificate and key are stored.
2. Backup the Default Certificate
It's good practice to back up the existing files first:
bash

   mv server.crt server.crt-2023-08-11

   mv server.key server.key-2023-08-11
3. Add Your Trusted Certificate
Copy your trusted certificate and private key into the same directory, and rename them:
bash

mv your_certificate.crt server.crt

mv your_private_key.key server.key
Ensure the filenames are exactly
server.crtandserver.key.
4. Restart SafeLine Services
Restart all SafeLine-related Docker containers to apply the changes:
bash

docker restart $(docker ps -q --filter "name=safeline")
Verification
Open your browser and navigate to the SafeLine WAF dashboard:
If everything was done correctly, the browser should now show a secure connection without warnings.
Resources
By replacing the self-signed cert, you're one step closer to a production-ready SafeLine setup—whether you're running it at home or in the cloud.


Top comments (0)