
Today, I am going to show you how to deploy the React App to the IIS server, so let's grab a cup of coffee and start coding.
What is IIS?
IIS stands for "Internet Information Services", which is a web server provided by Microsoft to host the websites and other stuff on the web.
How to enable IIS?
If you have already enabled IIS then you can skip this step. But if you are not then enabled it already then follow the below steps:
- Open Control Panel and then click on the "Programs and Features".
- Click on "Turn Windows features on or off".
- Select Internet Information Services and click on the OK button.
- To see whether or not IIS is enabled, press
Windows + Rkey and typeinetmgrand click on OK. - IIS Manager is open.
Create a Simple React App
Open a command prompt or your favourite terminal and type below command to create a react app.
> npx create-react-app my-react-app
After successfully creating app go to the new app.
> cd my-react-app
To see how it look likes type below command
npm start
and it will start the development server and navigate you to
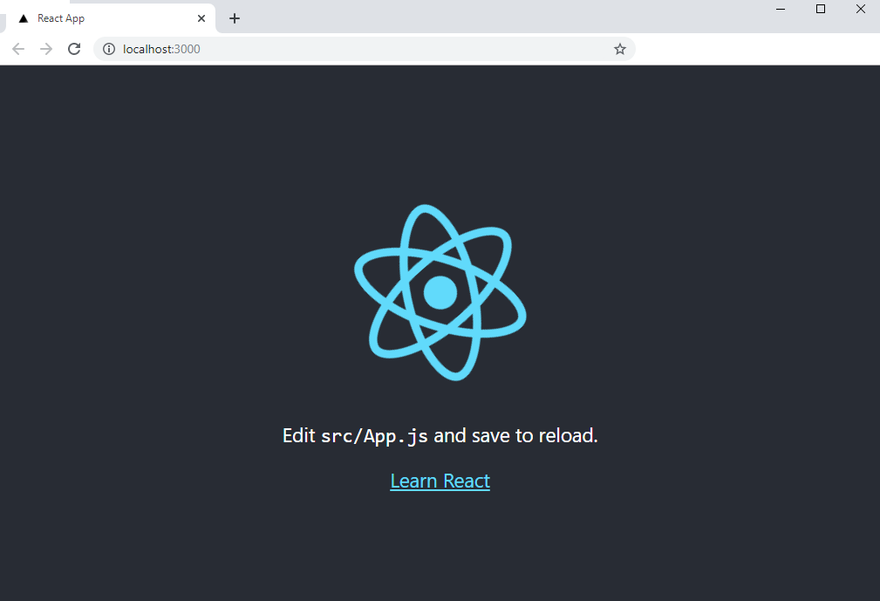
http://localhost:3000/
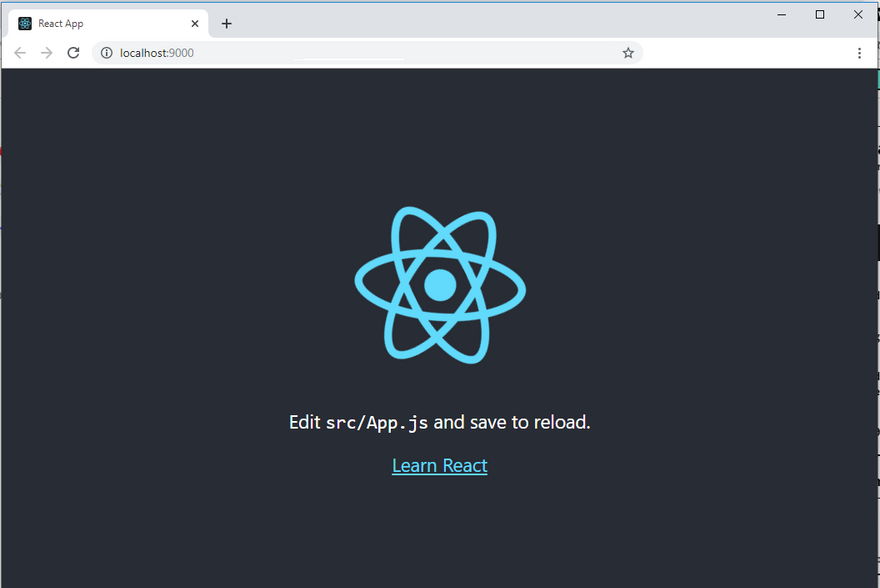
You can see the default landing page:
To host app in any web server we first need to create a production build. To create a production build of our react app using below command.
> npm run build
The output of the above command creates a new build folder inside the project which contains production build.
So far we have created a React app & create a production build of that app.
Now next step is to deploy it on IIS.
Press Windows + R key and write inetmgr to open the IIS Manager. You can see the below screen.
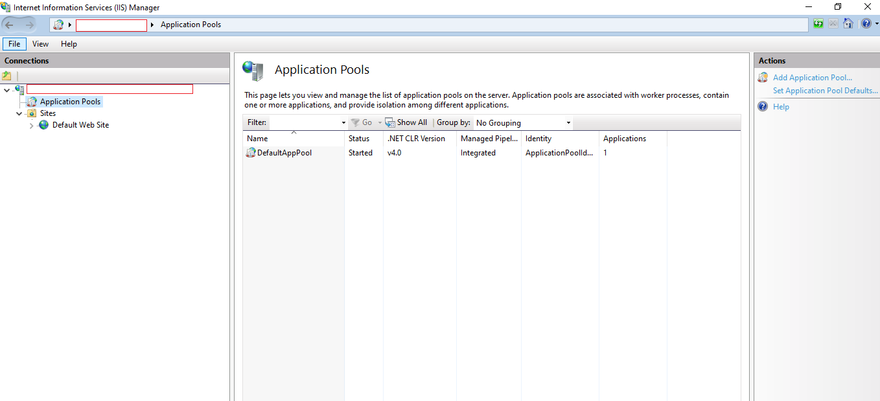
First, we will create a new Application Pool, so right-click on Application Pools and click on Add Application Pool. Then give it name as you want and click on OK button.
After that right-click on the new app pool and select Advanced Settings. You will see below window.
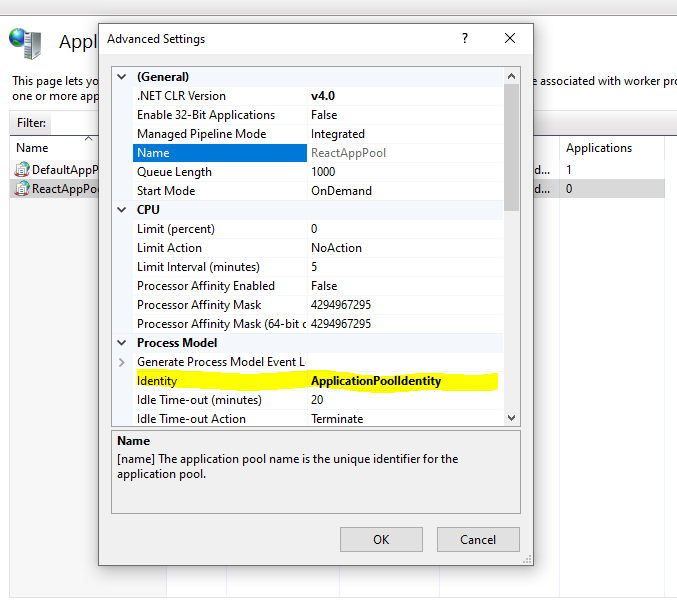
Then click on Identity and choose a Custom account and click on the set button and then add your windows credentials and click on OK.
After that right-click on Sites and then click on Add Website. Add the Site name and select application pool which we created earlier. After that under physical path section, you have to give the path of build folder & also give the port number where you want to host.
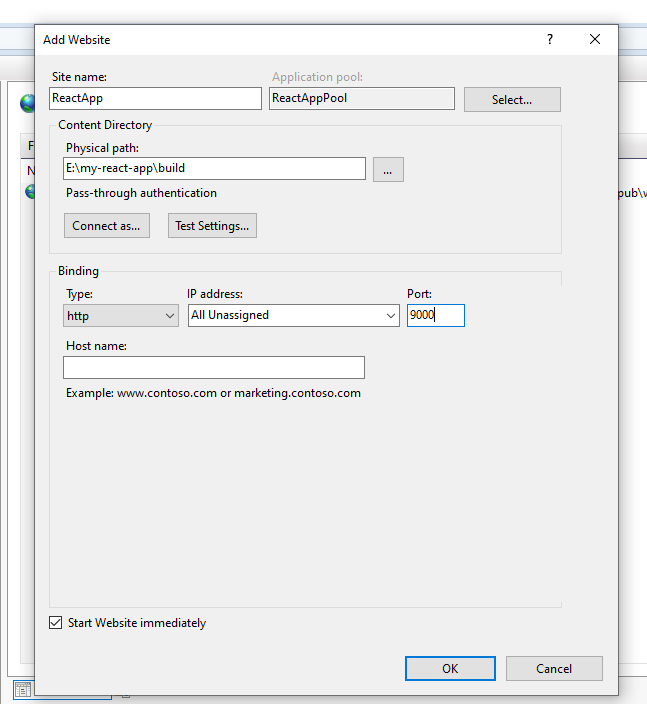
Now right click on new website i.e ReactApp -> Manage Website -> Browse. Your react app is now successfully deployed.
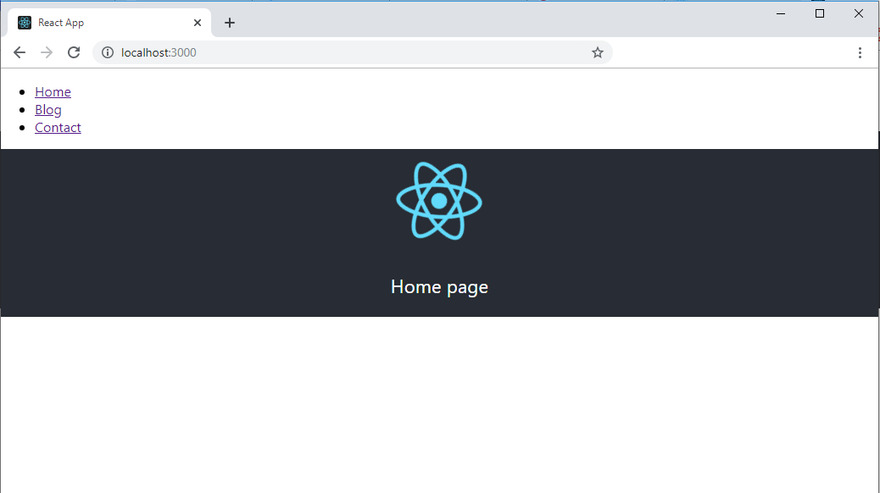
Now the next step is to add routing in our react application. So I have created 2 components and also add react-router-dom package for routing. Here we are not going in detail about react routing.
Home page:
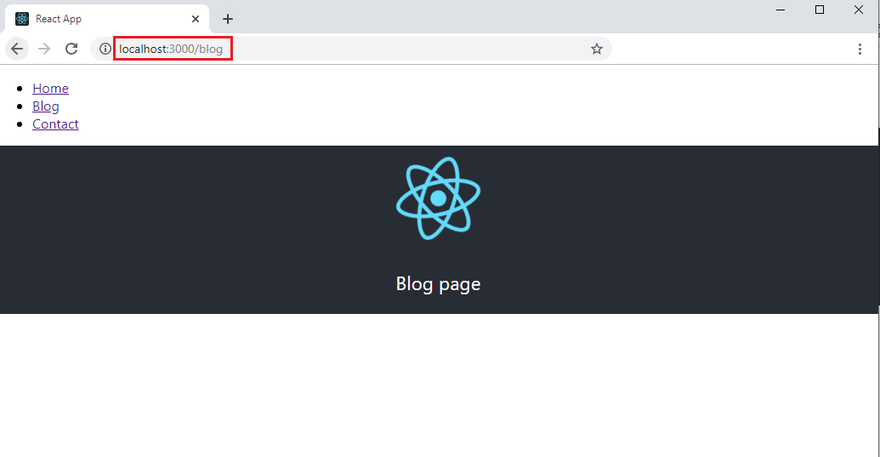
Blog page:
Create a production build again and try to browse the application which we hosted on IIS. You will see the application working fine but now try to refresh the page and see what happens. You will get below error.
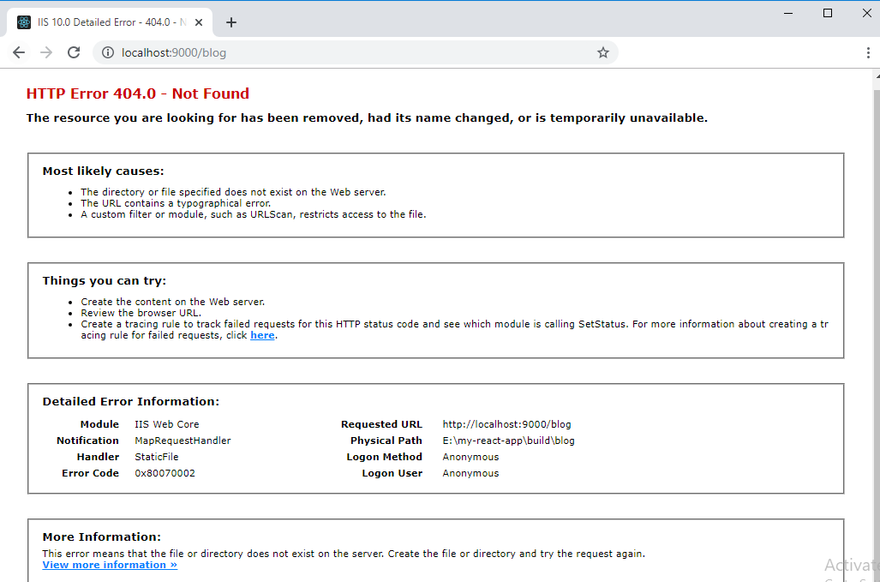
So to fix this issue you have to install URL Rewrite module. After successful installation, you have to create a web.config file under public folder of app and copy-paste below content into it.
web.config
<?xml version="1.0"?>
<configuration>
 <system.webServer>
 <rewrite>
 <rules>
 <rule name="React Routes" stopProcessing="true">
 <match url=".*" />
 <conditions logicalGrouping="MatchAll">
 <add input="{REQUEST_FILENAME}" matchType="IsFile" negate="true" />
 <add input="{REQUEST_FILENAME}" matchType="IsDirectory" negate="true" />
 <add input="{REQUEST_URI}" pattern="^/(api)" negate="true" />
 </conditions>
 <action type="Rewrite" url="/" />
 </rule>
 </rules>
 </rewrite>
 </system.webServer>
</configuration>
Again build the application in prod mode and browse. So now if you refresh the app you will not get an error and able to see correct page. That's it so you have successfully created and deployed React application into the IIS server.
I hope that you have enjoyed this article, and please do not hesitate to send me your thoughts or comments about what could I have done better.
Happy Coding!!


Latest comments (9)
Thai chili peppers are a key ingredient in the bold and spicy flavors that define Thai cuisine. Known for their fiery heat and vibrant taste, these small but powerful peppers come in various types, such as Bird’s Eye Chili (Prik Kee Noo) and Prik Chee Fah, each adding a unique level of spice and aroma to dishes. Commonly used in iconic recipes like som tam (papaya salad), tom yum soup, and pad kra pao (stir-fried basil with meat), Thai chili peppers not only enhance flavor but also provide a pleasant kick that spice lovers crave.
Drive Zone MOD APK is a must-try for racing lovers! 🚗💥 With unlimited money, unlocked cars, and next-level graphics, it takes mobile racing to a whole new level. Want to experience the full thrill? Download Drive Zone MOD APK now and hit the streets like a true racing legend! 🏁🔥
To deploy a React app on IIS, build the project using npm run build, copy the build folder to your IIS site's root, and configure web.config for routing. Just like Professional security solutions tailored for businesses and events, specializing in security guard hire in Melbourne ensures reliable protection, proper deployment secures smooth and efficient website performance for users.
This is a very helpful guide for deploying a React application on an IIS server! Clear steps like these make it much easier for developers to navigate the process. Additionally, for those interested in exploring tools beyond development, this website provides vblink app, a great platform for enhancing various digital experiences.
Thanks for sharing these steps on deploying a React application on IIS! It’s really helpful to get clear guidance on this process. For anyone interested in coding tools, you might want to check out codigo morse translator . It’s a handy tool for converting text into Morse code, perfect for developers or enthusiasts looking to explore this classic communication method!
Great guide on deploying a React application to an IIS server! This is super helpful for developers looking to host their applications on Windows environments. By the way, if you're a gaming enthusiast and want to explore new features, you can get Free Fire Advance Server on your phone to experience upcoming updates before they're officially released. Thanks for sharing this detailed tutorial!
This guide on deploying a React application on an IIS server is incredibly helpful and well-explained! It's great to see step-by-step instructions for such a technical process. For those interested in mobile gaming, don't miss out on the latest FC Mobile 24 upcoming events for exciting updates and features
FC Mobile Mod APK offers enhanced features and customization options for the popular football game, providing a more tailored gaming experience. With this mod, players can access exclusive content and improvements not available in the standard version. For more information you can visit: fcmobilemodapk.com/
Spike offers enhanced features and customization options for the popular football game, providing a more tailored gaming experience. With this mod, players can access exclusive content and improvements not available in the standard version. Download Now and enjoy it.