Introduction: Why Do Minecraft Players Love Pixel Art?
Minecraft and pixel art are a perfect match. The game’s blocky world is like a giant pixel canvas, where every block can represent a “pixel.” Many players love building:
- Portraits of themselves or their friends
- Favorite anime or game characters
- Server logos or pixel walls
But creating pixel art by hand can be time-consuming. Placing thousands of blocks one by one is fun for some, but most players just want a quick way to bring their favorite image into Minecraft. That’s where Image to Pixel Art tools come in.
What Is Image to Pixel Art?
Simply put, “image to pixel art” means turning any picture into a blocky, pixelated version that matches Minecraft’s block style.
- The tool analyzes your image and matches its colors to the closest Minecraft blocks.
- The result: a blueprint (or even an automatic build file) that can be placed directly into your Minecraft world.
- Compared to manual building, this saves hours of work and guarantees accurate results.
Common Use Cases in Minecraft
Pixel art is popular for many creative builds:
- Art Displays: Build portraits or artwork in survival or creative mode.
- Server Decoration: Add a pixel wall, museum, or public artwork area.
- Character Replicas: Bring your favorite anime/game characters into the Minecraft world.
- Map Art: Create artworks that show up on Minecraft maps.
Tool Recommendation: Minecraft Pixel Art Generator
👉 Minecraft Pixel Art Generator
Key Features:
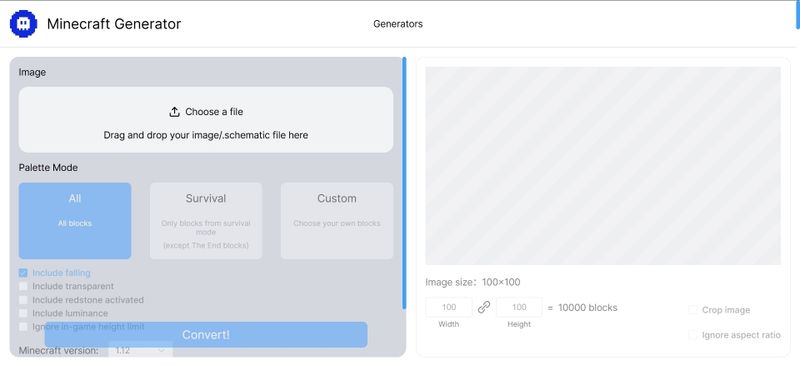
- Upload any image → instantly converted into Minecraft-style pixel art
- Smart color-matching with real Minecraft blocks
- Multiple export formats:
-
.mcfunction(Datapack commands) -
.schem / .schematic(WorldEdit compatible) - Command Blocks (direct in-game generation)
-
- 100% free and online — no installation required
Step-by-Step Tutorial: Create Minecraft Pixel Art from Any Image
- Go to the Pixel Art Generator.
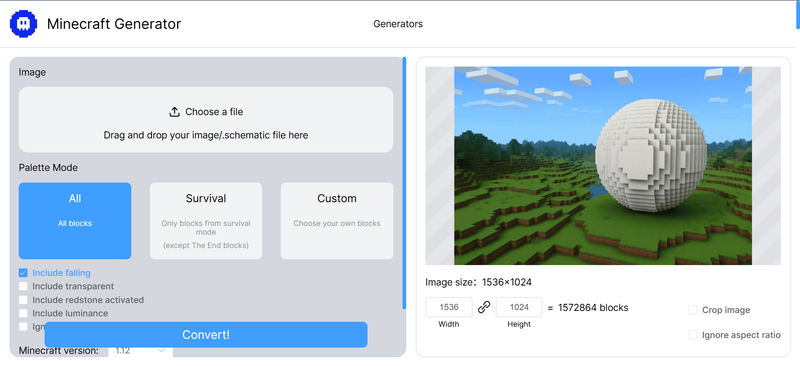
- Upload an image (e.g., your avatar, a favorite logo, or a character).
- Adjust the size (be careful,very large builds can lag the game, the max height is 256).
- Preview the pixel art result.
- Export your preferred Minecraft format.
How to Import Pixel Art into Minecraft
Option 1: Using .mcfunction Files
- Place the downloaded
.mcfunctionfile in your world’sdatapacksfolder (/saves/your_world/datapacks/). - Enter the game and type:
- Your pixel art will instantly appear in the world.
Option 2: Using .schem / .schematic Files (WorldEdit Plugin)
- Place the
.schemfile in your WorldEditschematicsfolder. - In-game, run:
- The pixel art will be pasted at your current position.
Option 3: Using Command Blocks
- Copy the generated command code.
- Place a command block in your world and paste the code inside.
- Activate the command block (redstone or “Always Active” setting).
- Watch your pixel art build instantly.
Pro Tips
- Test in Creative Mode first to avoid overwriting your existing builds.
- Large pixel art can cause lag — keep dimensions reasonable.
- If possible, test in a new world before adding it to your main save.
Tips for Better Results
- Use high-contrast images (cartoon characters, logos, or pixel-style art work best).
- Keep the size manageable — big builds can crash low-end computers.
- Always preview your pixel art before importing into the game.
Conclusion
Pixel art is one of the most creative ways to express yourself in Minecraft. Instead of spending hours placing blocks manually, you can now turn any image into Minecraft pixel art in seconds with Minecraft Pixel Art Generator.
👉 Try image to pixel art generator today and bring your favorite images to life in Minecraft!


Top comments (0)