How PeachPay will improve your Woocommerce checkout process
As mentioned above… PeachPay simplifies your store checkout process. The PeachPay plugin adds quick checkout buttons on your cart and checkout pages, and also on each product page, meaning your customer can add a product to the cart, and then process payment right then and there!
The following buttons are added to your Cart & Checkout pages and also your product single pages… Plus you can also edit the text, color and position of the buttons too.
Those button make it very quick and easy for your customers to complete their purchase before changing their mind, and simply giving them a better experience on your store.
Once a customer is happy with their cart, they’ll click on any of the express checkout buttons to open the express checkout popup where they can enter their details and complete their purchase.
Setting up PeachPay on your WooCommerce store
PeachPay make it very easy to install and setup their WooCommerce one-click checkout plugin in just a few minutes.
You simply install the free plugin from the WordPress repository by logging in to your WordPress site and navigating to Dashboard -> Plugins -> Add New.
Then search for “PeachPay for WooCommerce” and you’ll find it come up first in the list… Click Install and the Activate the plugin.
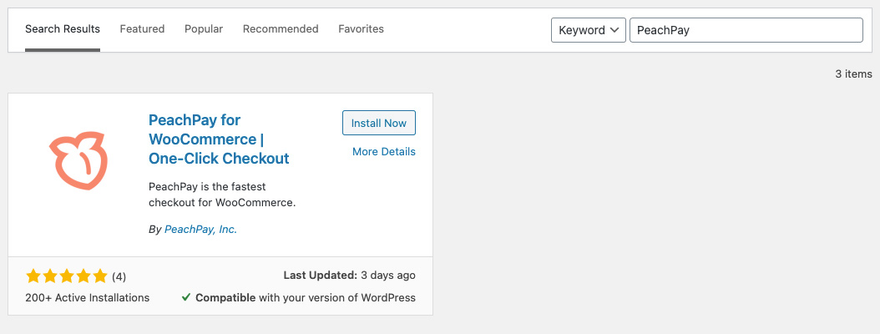
Install Now and Activate the PeachPay for WooCommerce plugin.
After activation, PeachPay will ask if they can connect to your store and have permission to place orders. WooCommerce doesn’t offer the ability to set finer permissions, so you will see it asking for managing products, customers, and coupons too, but the plugin only really needs to be able to place orders.
Once you’ve clicked “Approve”, you will then be taken to Stripe where you can sign up or sign in to a Stripe account.
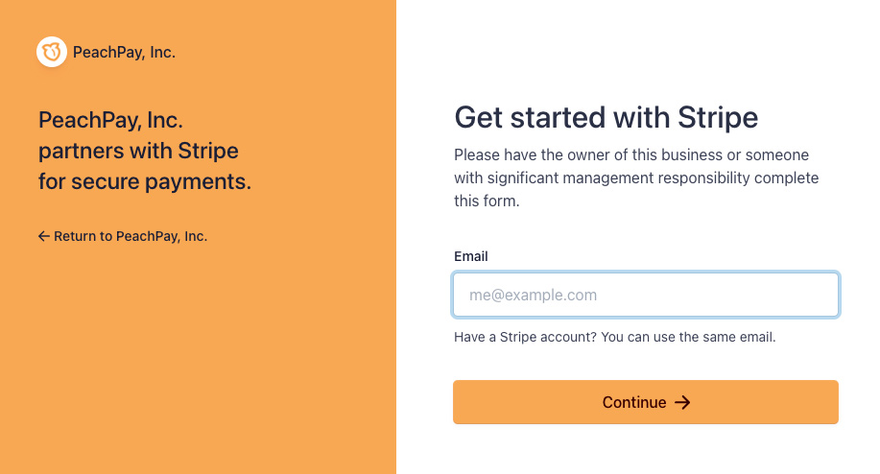
Sign in and connect your stripe account, and once you’ve completed that, you will receive an email shortly with the activation key which you can then enter into PeachPay under Dashboard -> PeachPay.
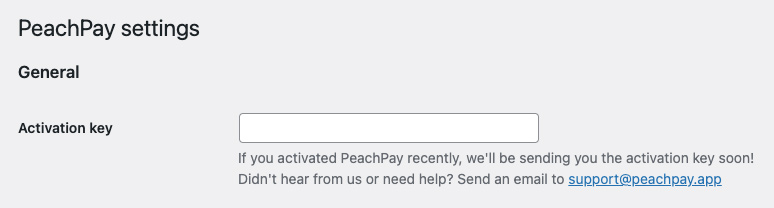
And that’s it! You’re ready to start receiving payments with your new WooCommerce one-click checkout plugin.
Scroll further down on the settings page and you can also configure other settings such as button text, color, position and more to make PeachPay suit your store.
Reference Blog
How PeachPay will improve your Woocommerce Checkout


Top comments (0)