When I first started coding, most of my projects were the usual practice apps: to-do lists, calculators, note takers. They helped me learn, but none of them felt real. I wanted to build something that people could actually use.
Where the idea came from
One day, I plugged in my Xbox controller and it wasn’t working right in a game. I couldn’t figure out if the problem was the controller, the cable, or the game itself.
That gave me the thought:
What if there was an online tool that instantly showed me which buttons and sticks were working?
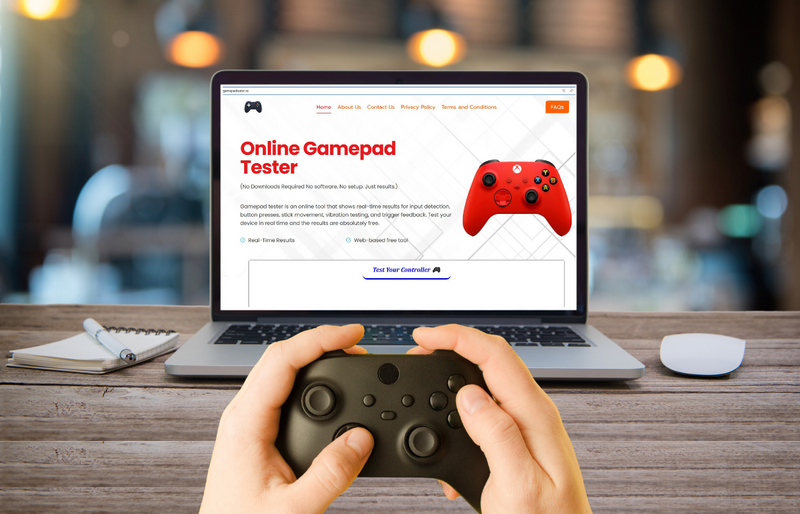
I came up with the idea for a gamepad tester, a simple web tool that lets you check if your controller is working properly, right in the browser.
It turns out, modern browsers already support something called the HTML5 Gamepad API, which can read controller inputs directly. That was all I needed to get started.
Building the first version
I didn’t use anything fancy. Just HTML, CSS, and JavaScript.
Here’s a simplified version of the code that listens for button presses and lights them up on the screen:
<!DOCTYPE html>
<html>
<head>
  <meta charset="utf-8">
  <title>Gamepad Tester</title>
  <style>
    body { font-family: sans-serif; }
    .button {
      display: inline-block;
      width: 40px; height: 40px;
      margin: 5px; text-align: center; line-height: 40px;
      border: 1px solid #333; border-radius: 8px;
    }
    .pressed { background: #4caf50; color: white; }
  </style>
</head>
<body>
  <h2>Press any button on your controller to start</h2>
  <div id="buttons"></div>
  <script>
    let controllers = {};

    function connectHandler(e) {
      addGamepad(e.gamepad);
    }

    function addGamepad(gamepad) {
      controllers[gamepad.index] = gamepad;
      const buttonsDiv = document.getElementById("buttons");
      buttonsDiv.innerHTML = "";
      gamepad.buttons.forEach((btn, i) => {
        const b = document.createElement("div");
        b.className = "button";
        b.innerText = i;
        buttonsDiv.appendChild(b);
      });
      requestAnimationFrame(updateStatus);
    }

    function updateStatus() {
      scanGamepads();
      for (let j in controllers) {
        const controller = controllers[j];
        const buttons = document.getElementById("buttons").children;
        controller.buttons.forEach((btn, i) => {
          buttons[i].classList.toggle("pressed", btn.pressed);
        });
      }
      requestAnimationFrame(updateStatus);
    }

    function scanGamepads() {
      const gamepads = navigator.getGamepads();
      for (let i = 0; i < gamepads.length; i++) {
        if (gamepads[i]) controllers[gamepads[i].index] = gamepads[i];
      }
    }

    window.addEventListener("gamepadconnected", connectHandler);
  </script>
</body>
</html>
If you open this in your browser and press a controller button, you’ll see it light up on the page. That’s the basic idea behind the full version I eventually built at www.gamepadtester.co.
What I learned
• Start simple. You don’t need frameworks or databases to build something useful.
• APIs are more powerful than you think. The browser could read controller input, which I didn’t even know was possible at first.
• Feedback is key. Friends tested my tool and suggested improvements, like adding joystick axis visualization.
• Publishing is better than perfecting. Shipping the project online felt way better than just coding in private.
Final thoughts
Building my first real tool showed me that coding doesn’t have to be about chasing huge projects. Even small tools can be useful and rewarding to build.
If you’re learning to code, I highly recommend making something you’d personally use. You’ll stay motivated, you’ll learn more than tutorials can teach, and you might even help others along the way.


Top comments (1)
Building your first real web tool is an amazing way to grow as a developer. It teaches you how to solve real problems and apply what you’ve learned. You don’t always need big projects to improve — small tools can make a big impact. To level up faster, explore different web frameworks that simplify and speed up development.